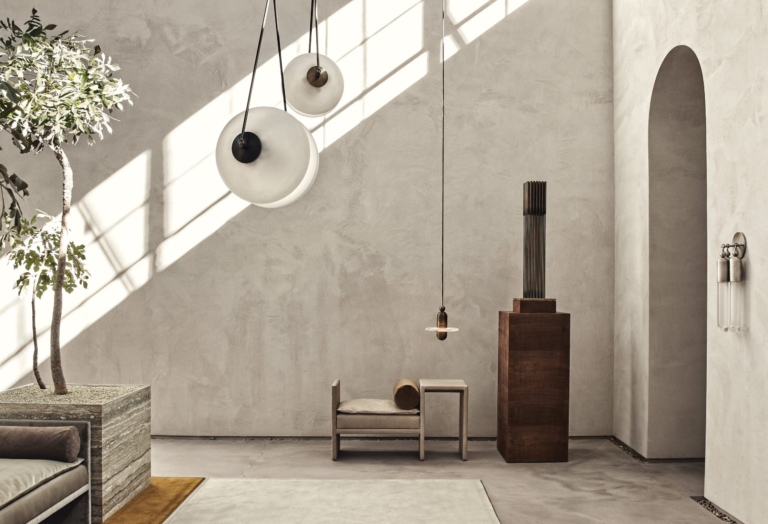
5 Marmorino Plaster Techniques to Achieve Luxurious Wall Finishes
Whether you’re aiming for a modern, minimalist vibe or a rustic European feel, Marmorino offers limitless possibilities for interior wall finishes. Check out our blog: Discover 42 Wall Finish Ideas.
Below, we dive into five standout Marmorino plaster techniques guaranteed to elevate any room.

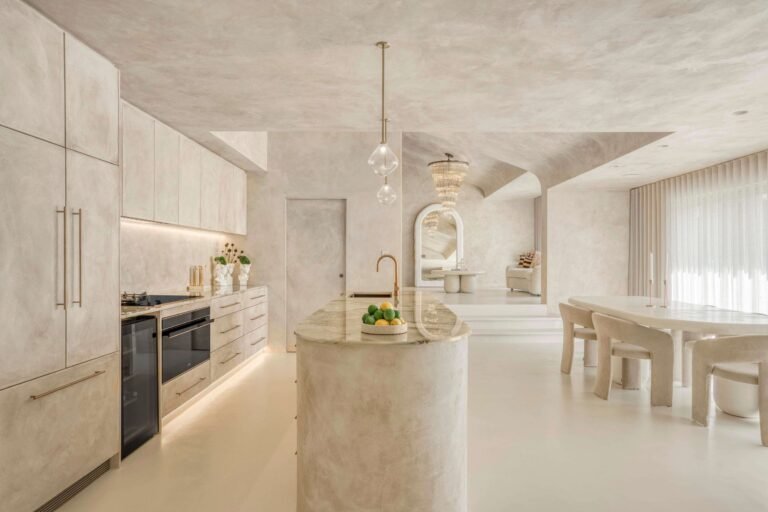
Marmorino Plaster Technique #1: The Polished Marble Finish
Why Choose It?
This ultra-smooth finish gives your walls the appearance of polished marble, creating a sleek, reflective surface perfect for elegant, contemporary spaces.
How to Do It
Step 1. Apply a Thin Base Coat: Use a steel trowel to spread a smooth, even layer of Marmorino across the wall, ensuring the material remains flat and uniform. Allow it to dry for 4-6 hours, or until the surface shows a consistent color.
Step 2. Add the Second Layer: Apply another thin layer, overlapping your strokes with consistent, increased compression compared to the first coat.
Step 3. Burnish the Surface: While the second coat is still damp, press the trowel at a slight angle and glide it across the surface in 3-4′ sections at a time to create a shiny, compressed finish. Once the wall dries, achieving higher levels of polish is only possible by sanding with extra fine sandpaper
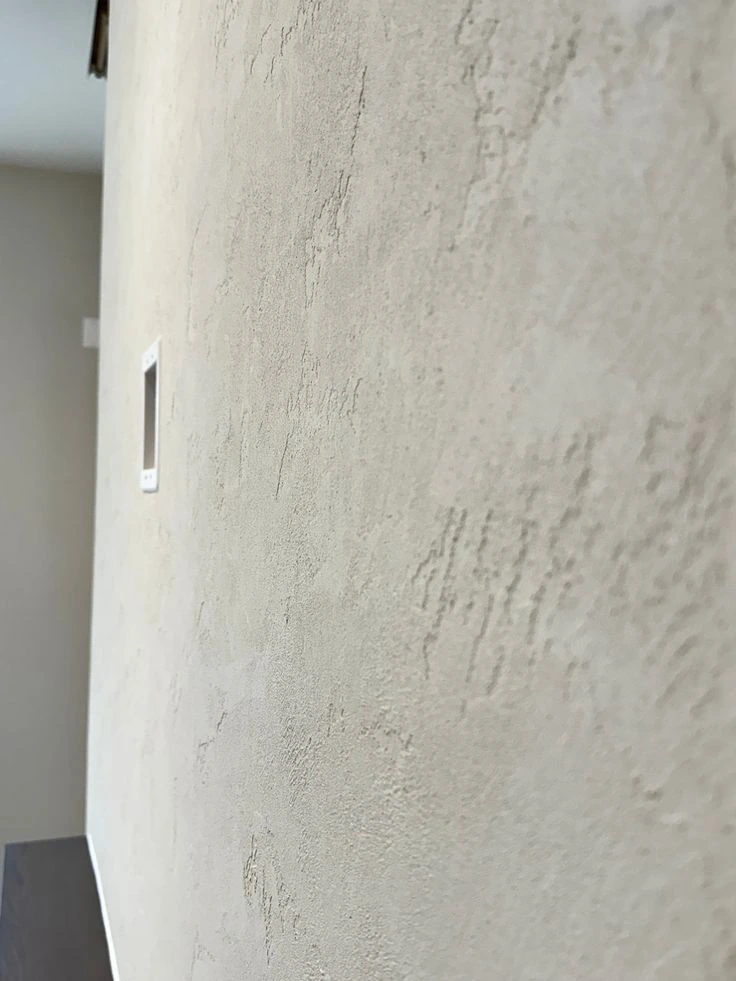
Marmorino Plaster Technique #2: Rustic Stone Finish
Why Choose It?
This technique creates a rough, textured effect that mimics natural stone, adding warmth and character to rustic or industrial spaces.
How to Do It
Step 1. Apply the First Layer Generously: Use a sponge float or brush to spread the plaster unevenly, adding texture as you go.
Step 2. Build the Texture with a Second Coat: Apply another layer, leaving some areas raised for depth.
Step 3. Refine the Look: Use the edge of a trowel to scrape and expose lower layers, giving the surface a worn, stone-like appearance. For best results on the final coat, work in 3-4′ sections, depending on experience.

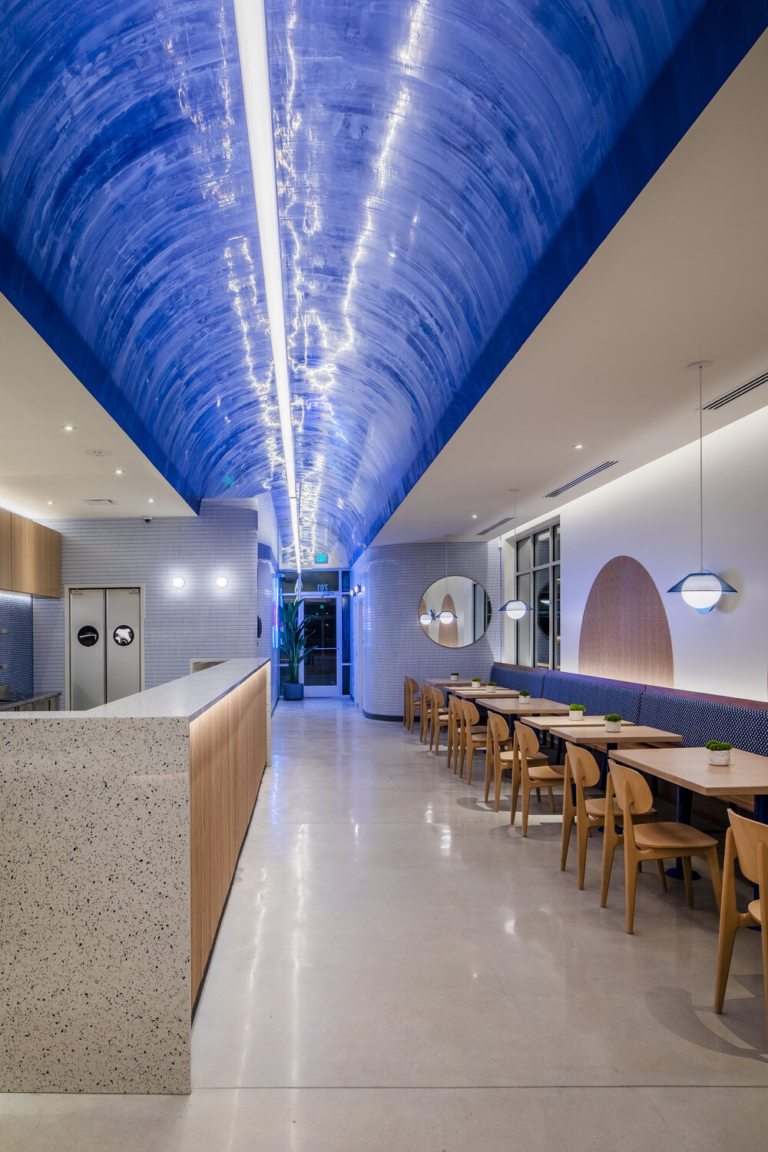
Marmorino Plaster Technique #3: Brushed Pattern Finish
Why Choose It?
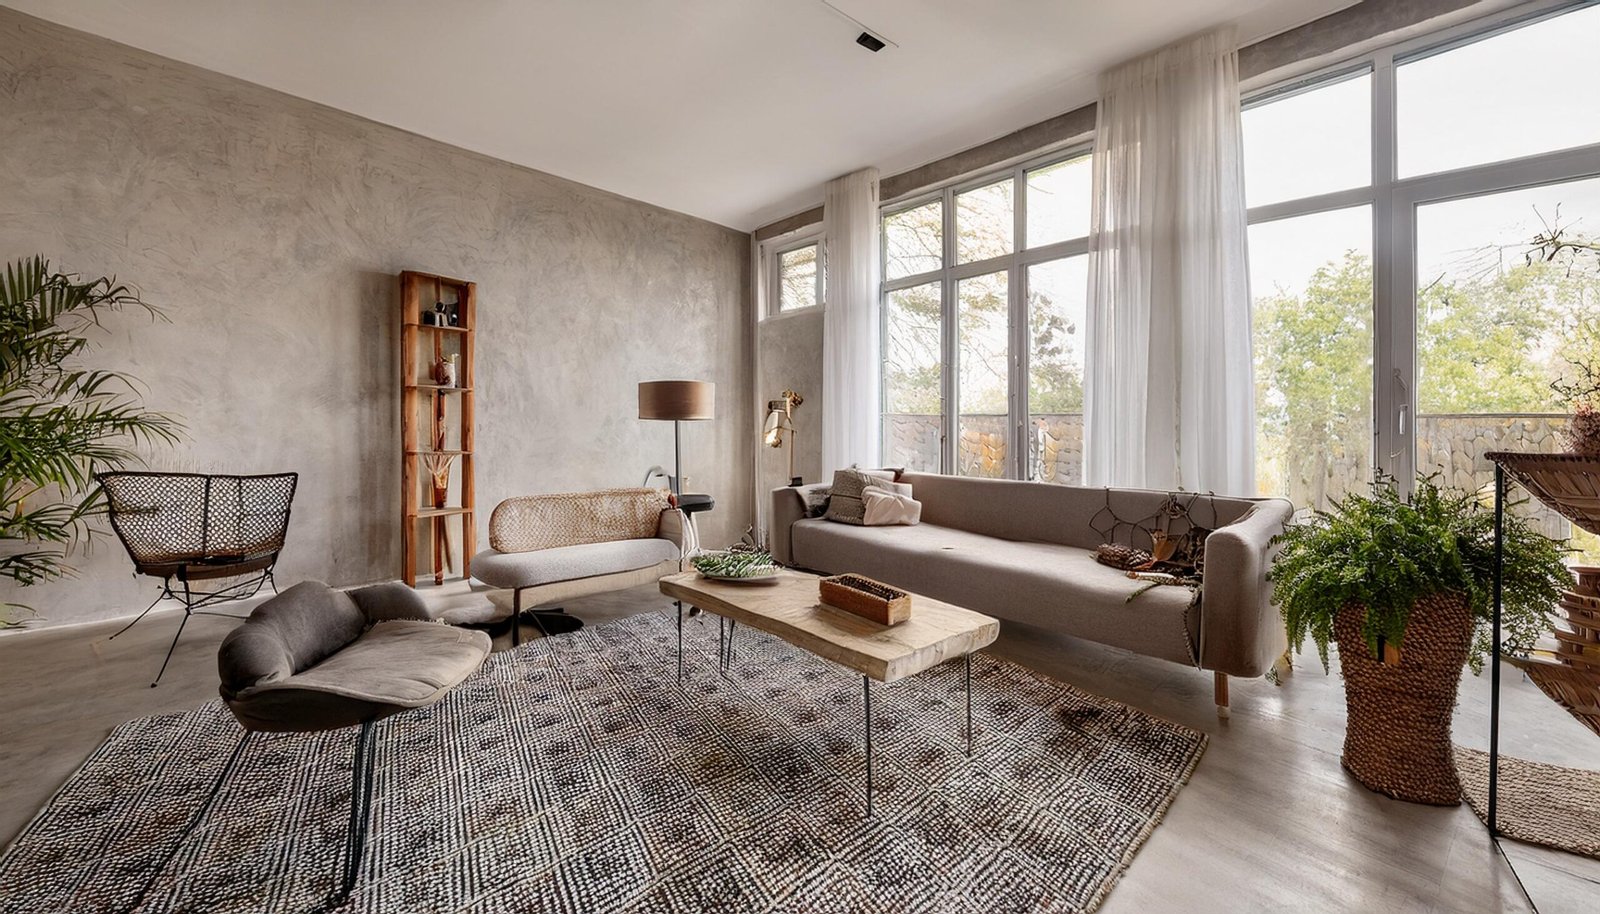
This technique introduces subtle brush patterns into the plaster, making it a great option for cozy spaces like living rooms and bedrooms.
How to Do It
Step 1. Apply the Base Coat Smoothly: Use a trowel to spread the first layer and let it dry.
Step 2. Create Brush Patterns: Apply the second coat with a wide brush, creating waves or crosshatch designs.
Step 3. Soften the Texture: Use a trowel to lightly smooth over the surface while keeping the brush patterns visible.
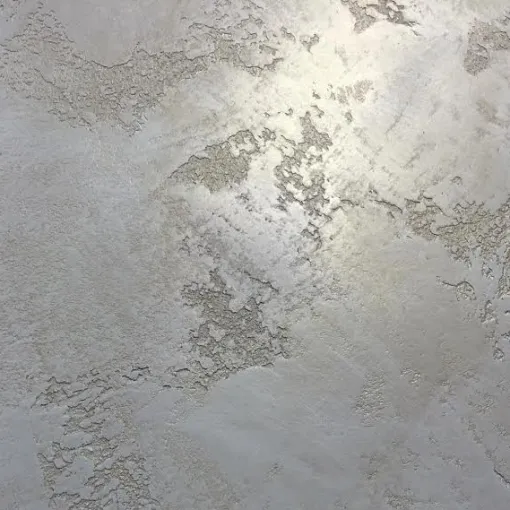
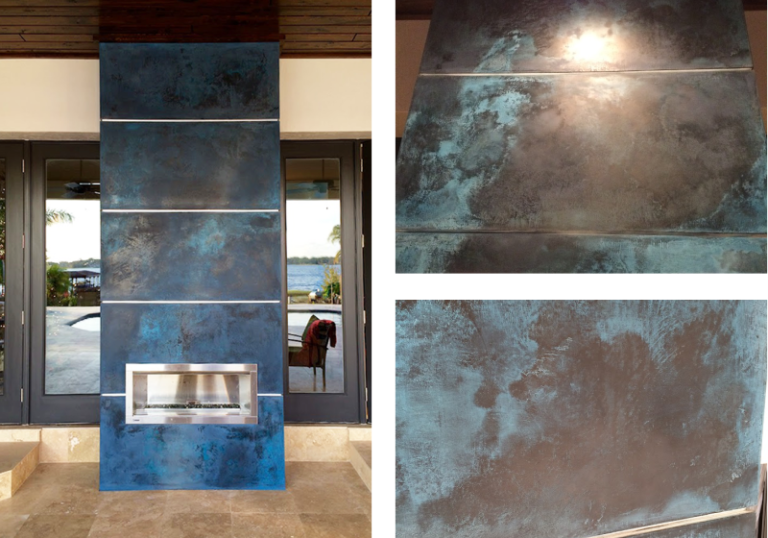
Marmorino Plaster Technique #4: Metallic and Pearlescent Finish
Why Choose It?
For a modern, glamorous touch, metallic or pearlescent finishes add subtle shimmer and dimension to your walls.
How to Do It
Step 1. Mix Metallic Pigments: Add pearlescent or metallic pigments to the Marmorino plaster.
Step 2. Apply Two Thin Layers: Use a trowel to ensure smooth, even coverage.
Step 3. Highlight the Shine: Burnish the surface while it’s still damp to enhance the metallic effect. If the effect appears too dull, consider adding metallics to a Venetian plaster or paste wax, then apply to the surface and either hand buff or machine polish for a more pronounced sheen.
Pro Tip: Use warm metallics (like gold or copper) for traditional interiors or cooler shades (like silver) for modern spaces.

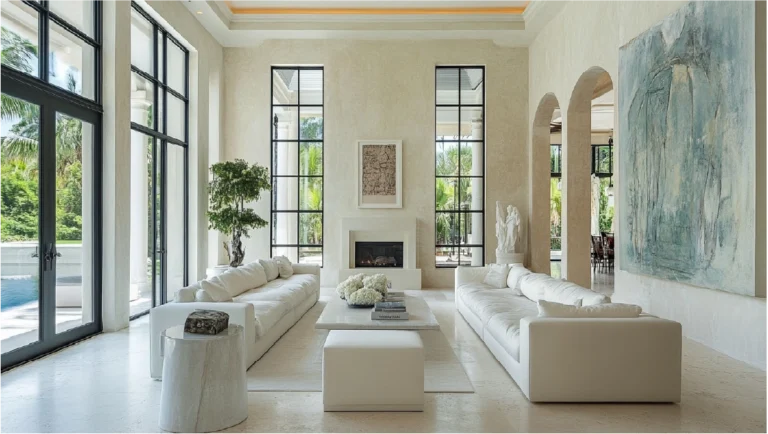
Marmorino Plaster Technique #5: Two-Tone Layered Finish
Why Choose It?
This technique adds depth by layering complementary colors, creating subtle variations that catch the eye without overwhelming the space.
How to Do It
Step 1. Apply the Base Color: Spread the first layer of Marmorino in your chosen color and allow it to dry.
Step 2. Add the Second Color: Use a complementary color for the second coat, applying it unevenly to allow the base color to peek through.
Step 3. Blend the Colors: While the plaster is still wet, use a trowel or sponge to soften the transition between the two shades.
Bonus: Sealing and Maintenance Tips!
After applying your chosen finish, consider using a wax or sealant to protect the plaster. Wax enhances shine for polished finishes, while matte sealants preserve textured effects.
To maintain your walls, clean them gently with a damp cloth and avoid abrasive cleaners. Reapply wax occasionally to keep polished surfaces looking fresh.
Final Thoughts
Mastering these Marmorino plaster techniques will transform your walls into works of art. Whether you prefer the sleek sophistication of a marble-like finish or the raw beauty of textured stone, there’s a technique to suit every interior style.
If you’re ready to bring your vision to life with professional craftsmanship, contact Artesano Craftsmen. We specialize in creating artisanal plaster finishes that add depth, warmth, and elegance to any space. Let us help you achieve walls that make a statement.
FAQ’s
Can Marmorino plaster be used in bathrooms or kitchens?
Yes, Marmorino plaster works well in humid environments. However, for areas prone to moisture, it’s best to apply a protective sealant to maintain durability and prevent staining.
How do I maintain Marmorino plaster walls?
Use a soft, damp cloth to gently clean the surface, avoiding abrasive cleaners. For polished finishes, you may need to reapply wax periodically to maintain the shine.
Can I apply Marmorino plaster myself, or should I hire a professional?
While Marmorino plaster can be applied DIY, achieving a professional finish requires experience, especially for more complex techniques like the Two-Tone Layered Finish or Metallic and Pearlescent Finish. For the best results, consider hiring a skilled professional.