Venetian Plaster: 5 Common Mistakes When and How to Avoid Them
Venetian plaster is a versatile and luxurious finish that can completely transform a space—but only when used correctly.
Despite its beauty, many designers, beginner artisans, and DIYers fall into the same traps that undermine the elegance of this timeless material.
From choosing the wrong surface to neglecting maintenance, the mistakes are easy to make but thankfully just as easy to avoid.
In this guide, we’ll walk through the five most common missteps when using Venetian plaster and give you practical solutions to ensure your projects turn out flawless.
Why It’s Essential to Understand Common Mistakes Before Using Venetian Plaster
Before deciding to incorporate Venetian plaster into your design, it’s very important to understand the potential challenges that could affect the success of your project.
It’s good to know that Venetian plaster can evoke deep emotional responses. When a piece of art you’ve carefully created has to be altered or redone, it’s more than just reapplying a coat of paint—it’s a serious disappointment.
So, to avoid costly repairs, diminished aesthetics, or even a complete redo of the work, take your time and assess the needs for your finish.
By addressing these key challenges up front, you’ll ensure a flawless, professional finish that enhances your space for years to come.
Let’s explore the most frequent mistakes and how to avoid them.
Key Takeaways:

Mistake #1: Misjudging Surface Compatibility for Venetian Plaster
Problem:
One of the most common mistakes when working with Venetian plaster is neglecting proper surface preparation.
Many installers mistakenly assume that Venetian plaster can be applied to any surface, but this isn’t the case. Some surfaces, such as untreated drywall or highly porous materials, are not suitable without the correct prep work.
This lack of preparation can result in poor adhesion, cracking, or uneven finishes, which diminishes the quality and durability of the plaster.
Solution:
To avoid problems with your finish, you must understand the specific surface conditions required for the plaster style you want. Once you are fully aware of this, thoroughly evaluate and prepare the surface accordingly.
For example, a polished plaster finish requires a perfectly smooth surface and a drywall finish level 5, While more textured finishes may allow for minor imperfections.
Achieving a smooth surface at this level involves using a joint compound and sanding the wall to perfection. This step ensures the plaster bonds properly and maintains its elegant appearance over time.
If you’re working with drywall, priming the surface with a high-quality primer designed specifically for Venetian plaster is essential to create a smooth, adhesive base.
For more porous surfaces like brick or concrete, using a bonding agent is key to sealing the surface and enhancing adhesion.
Additionally, it’s important to sand down any imperfections, clean off dust, and ensure the wall is completely dry before beginning the plastering process.
These preparatory steps will help ensure that your Venetian plaster not only looks flawless but also performs as expected for years to come.
Mistake #2: Overlooking Venetian Plaster Maintenance Requirements
Problem:
One common mistake is overlooking the care that this luxurious material requires to preserve its beauty over time.
Without proper care, the plaster may become dull or show signs of wear, which diminishes its luxurious look.
Solution:
To avoid these issues, it’s crucial to understand that Venetian plaster requires regular maintenance to preserve its beauty and durability.
Choosing the right finish for the space is the first step, as some finishes are more resilient in high-traffic areas than others.
Applying a clear protective coat can further guard against wear and tear, especially in areas that are prone to scuffs and damage.
As an artisan, it’s important to educate clients on the necessary maintenance steps—such as regular cleaning, resealing, and staying away from harsh chemicals so their investment in Venetian plaster continues to pay off.
For more detailed tips on maintaining your Venetian plaster, be sure to visit our article 7 Effective Ways to Maintain Your Venetian Plaster Walls for expert advice on keeping your surfaces looking flawless.

Mistake #3: Incorrectly Using Venetian Plaster in High-Moisture Areas
Problem:
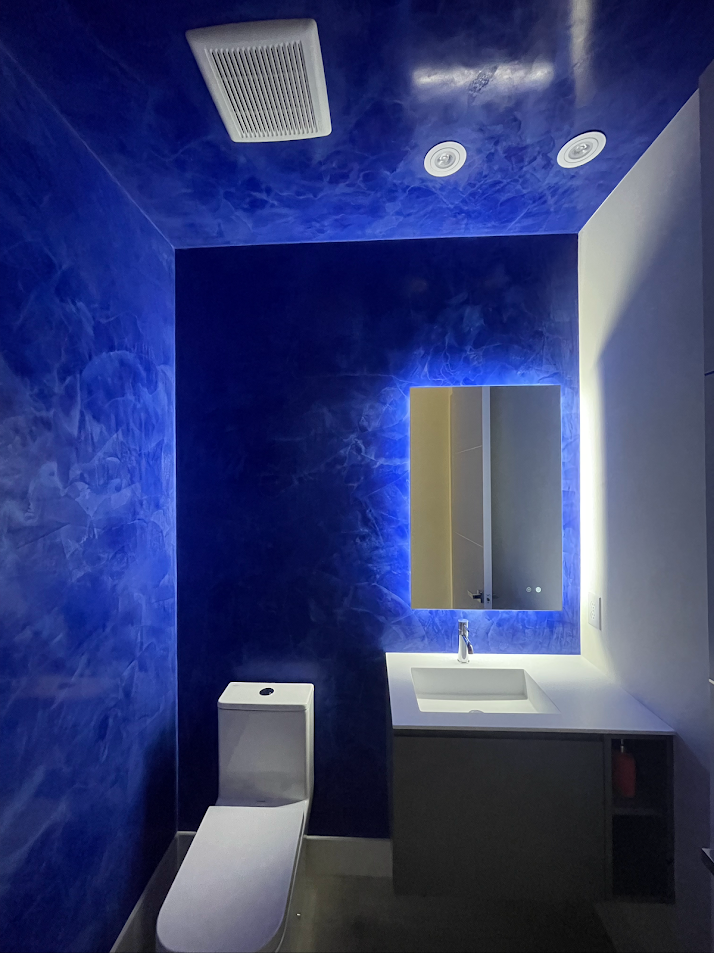
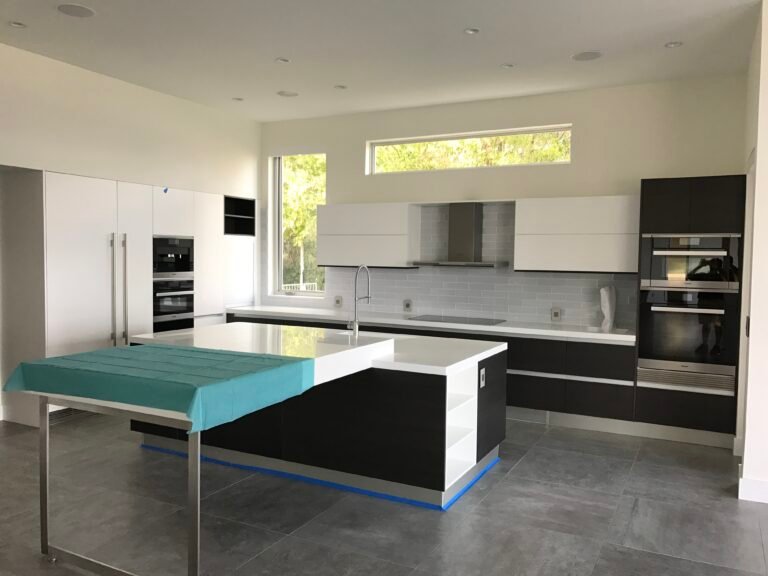
Venetian plaster is known for its luxurious finish, but using it in high-moisture areas like bathrooms, kitchens, or exterior walls can be challenging.
A common mistake installers make is assuming that Venetian plaster is suitable for any environment without considering how moisture can affect the surface.
Without proper protection, moisture can lead to mold growth, cracking, or even cause the plaster to detach from the wall, compromising both the appearance and durability of the finish.
Solution:
To avoid these issues, it’s essential to use a moisture-resistant Venetian plaster product specifically designed for wet environments.
Applying a high-quality sealant is also crucial, as it helps prevent moisture from penetrating the plaster.
Additionally, ensure that the surface is properly prepped with a waterproofing layer and is completely dry before starting the plaster application.
For areas like bathrooms and kitchens, opt for lime-based Venetian plaster, which naturally repels moisture. Always finish with a durable, clear protective coat to safeguard the plaster against moisture over time.
By following these practical steps, you can ensure your Venetian plaster remains beautiful and functional, even in high-moisture environments.
Mistake #4: Choosing the Wrong Venetian Plaster Finish for the Space
Problem:
Selecting the wrong finish for a specific space is a very common mistake that we see often. Many people choose a finish that doesn’t align with the room’s design intent or practical needs.
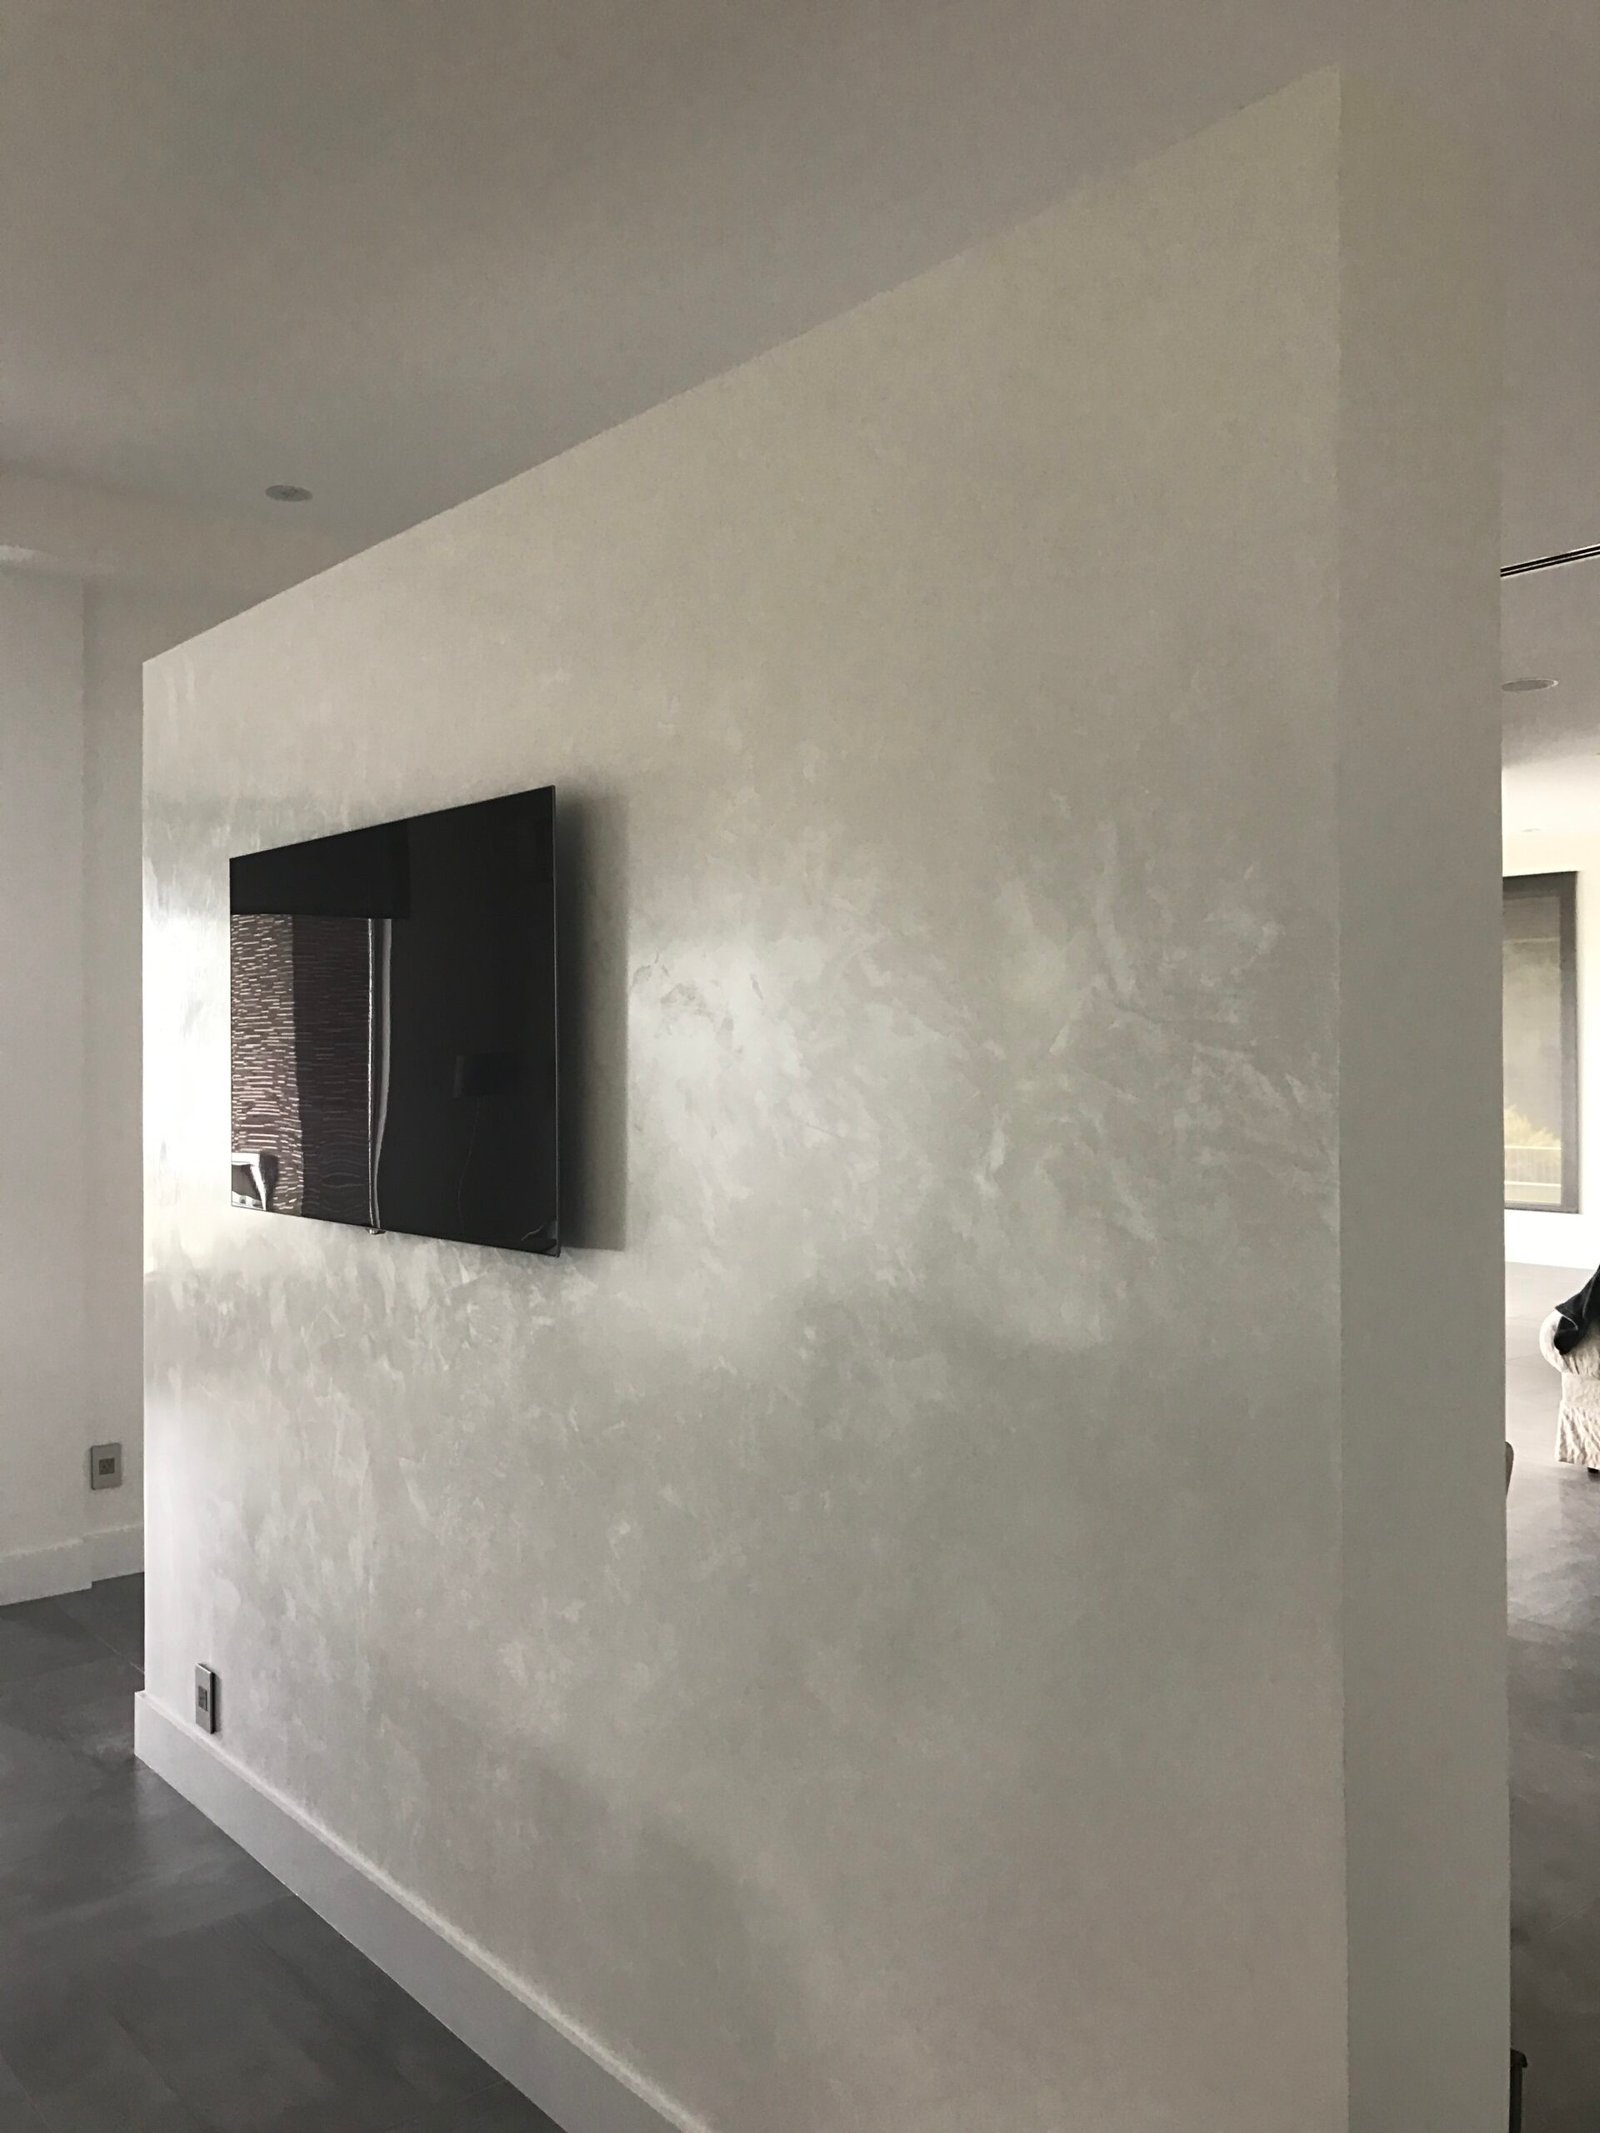
For example, while a high-sheen, glossy finish can create a striking, polished look in formal settings like living rooms or dining areas, it might feel out of place in more intimate or rustic spaces, such as bedrooms, where a natural, matte finish is often more suitable.
Lighting also plays a critical role in how the finish is perceived.
A high-sheen finish reflects light and adds depth and movement to a space, while a matte or low-sheen finish absorbs light, giving a softer, more subdued feel.
In our experience, many clients request a high-gloss finish in rooms with dull lighting, preventing them from achieving the reflective, luxurious look they envisioned.
Solution:
As professionals, it’s our responsibility to guide clients in choosing the right finish based on the room’s lighting, design, and ambiance.
However, if you are not working with a skilled Venetian plaster artisan you can avoid this mistake, by always considering the type of space and the available light before deciding on the finish.
For spaces with ample natural or artificial light and a modern, luxurious design, a polished, glossy finish works best.
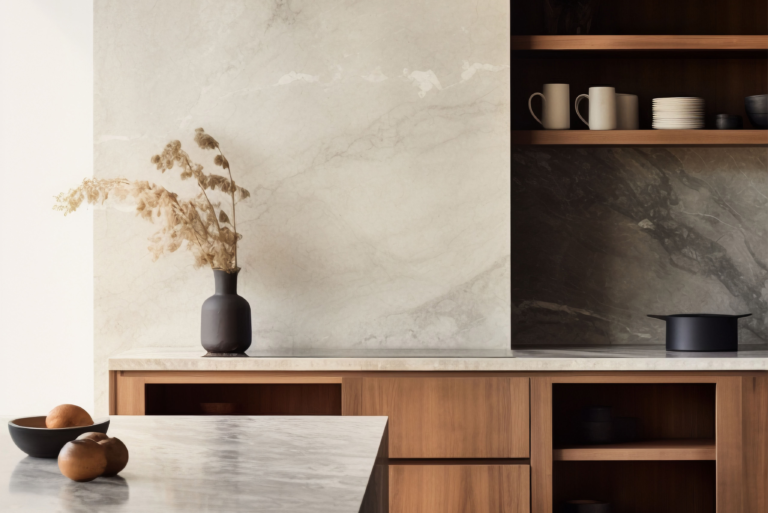
On the other hand, a low-sheen, natural finish is more appropriate for spaces where subtle elegance or a relaxed vibe is desired.
By making the right recommendations based on the room’s design, lighting, and atmosphere, you can ensure that Venetian plaster enhances the space and fulfills your client’s expectations.
Mistake #5: Overlooking the Need for a Skilled Venetian Plaster Professional
Problem:
One of the most critical yet frequently overlooked aspects of achieving a stunning Venetian plaster finish is the skill level of the applicator.
Venetian plaster requires precision, attention to detail, and years of experience to perfect.
While anyone can apply the material, only a skilled professional can deliver the flawless, beautiful finish that Venetian plaster is known for.
Additionally, challenges like unexpected imperfections or hidden moisture issues often arise, and without the ability to troubleshoot these problems, the quality of the finish can be compromised.
Solution:
To avoid these issues, it’s essential to hire a skilled and experienced Venetian plaster artisan who can apply the material correctly and troubleshoot any problems that arise during the process.
With over 16+ years of experience, I’ve encountered many surfaces that don’t turn out as expected, requiring quick adjustments and problem-solving.
An experienced applicator can recognize these issues early on and know how to modify the process to ensure a smooth, high-quality result.
By hiring a seasoned professional who understands both the application and the potential pitfalls, you can guarantee a long-lasting, beautiful finish.
Without this level of expertise, you risk imperfections, cracks, or inconsistencies that could diminish the luxurious appeal of Venetian plaster

Final Thoughts
In conclusion, when Venetian plaster is applied correctly, it can elevate any space with timeless elegance and a luxurious finish, making it suitable for any decorative project.
However, avoiding common mistakes—such as misjudging surface compatibility, selecting the wrong finish, or overlooking the need for skilled expertise—is essential to achieving that stunning result.
Whether you’re an interior designer, DIY enthusiast, or artisan, each step must be approached with care, ensuring the surface is properly prepped, the lighting (especially natural light) is considered, and any potential issues are handled by a skilled professional.
Before starting your next Venetian plaster project, take the time to assess your plans. Is the surface ready for plaster? Is the finish appropriate for the natural light in the room? Most importantly, do you have the right expertise to troubleshoot challenges?
If you’re unsure, seeking professional guidance can save you from costly mistakes and help ensure a flawless, long-lasting result.
Looking to create an impeccable finish with Venetian plaster? Let us help you transform your space with a beautiful, enduring look. Contact us today to get started!
FAQ’s
1. What happens if the surface isn’t properly prepared for Venetian plaster?
If the surface isn’t properly prepared, the plaster may not adhere well, leading to cracking, peeling, or an uneven finish. Proper preparation involves ensuring the wall is smooth (ideally at a level 5 flatness), primed, and sometimes treated with a bonding agent, especially for porous materials. This ensures the plaster bonds securely and looks flawless for years.
2. Can Venetian plaster be used in bathrooms or kitchens?
Yes, Venetian plaster can be used in high-moisture areas like bathrooms and kitchens, but it requires special attention. You need to use a moisture-resistant product, and applying a high-quality sealant is crucial to prevent issues like mold or cracks. Lime-based plaster is ideal in these spaces because it naturally repels moisture. Always ensure proper sealing for long-term protection.
3. Why is choosing the right finish important for Venetian plaster?
Choosing the right finish is essential because it directly impacts the room’s look and feel. A high-sheen, glossy finish works well in spaces with good natural light, creating depth and movement. However, in rooms with low light or a more relaxed vibe, a matte or low-sheen finish may be more appropriate. The finish should align with the space’s lighting and overall design.


